
what is MCP_CLIENT?
MCP_CLIENT is a Python SDK client for the Model Chat Platform (MCP) API, designed to facilitate interaction with the MCP services.
how to use MCP_CLIENT?
To use MCP_CLIENT, install it via pip and import it into your Python project. Create an instance of the client to start making API calls.
key features of MCP_CLIENT?
- Easy installation via pip
- Simple API for interacting with the MCP
- Supports various functionalities of the Model Chat Platform
use cases of MCP_CLIENT?
- Integrating chat functionalities into applications using the MCP API.
- Building chatbots that leverage the Model Chat Platform.
- Developing applications that require real-time chat features.
FAQ from MCP_CLIENT?
- What is the MCP_CLIENT?
MCP_CLIENT is a client library for the Model Chat Platform API, allowing developers to easily integrate chat functionalities into their applications.
- How do I install MCP_CLIENT?
You can install MCP_CLIENT using pip with the command:
pip install mcp-client.
- Is MCP_CLIENT open source?
Yes, MCP_CLIENT is open source and available on GitHub.
MCP Client Example ☀️
This project demonstrates a simple client-server implementation using the Model Context Protocol (MCP), which is a standardized way to connect large language models with tools and data.
Overview
This example shows how to:
- Create an MCP server with custom tools
- Connect to the server using an MCP client
- Call tools and get responses from the server
Tutorial Video
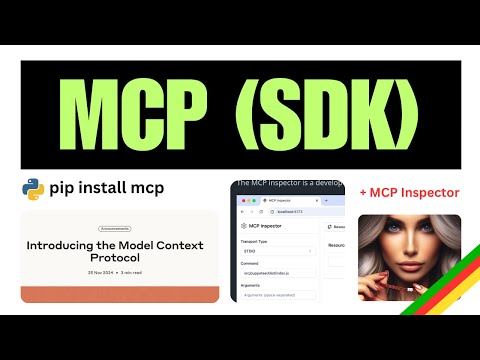
Click the image above to watch a tutorial on MCP implementation.
Project Structure
.
├── pyproject.toml
├── README.md
├── src
│   ├── client
│   │   └── mcp_client.py      # MCP client implementation
│   └── server
│       └── example_server.py  # MCP server with tools
└── uv.lock
Server Implementation
The server exposes two tools:
calculate_bmi- A simple calculator that computes Body Mass Indexfetch_weather- An async tool that retrieves weather data from an external API
Client Implementation
The client connects to the server via stdio, initializes a session, and calls the server's tools.
Getting Started
Prerequisites
- Python 3.9+
- uv (Python package manager)
Installation
# Install dependencies
uv install -e .
Running the Example
- Start the client (which will automatically start the server):
uv run src/client/mcp_client.py
Usage
The client will:
- Connect to the server
- List available tools
- Call the BMI calculator with sample data
- Call the weather tool with sample coordinates
Example Response
Available tools: meta=None nextCursor=None tools=[...]
BMI calculation result: 22.857142857142858
Weather data: {"current_weather":{"temperature":14.2,"windspeed":12.6, ...}}
Test with MCP Inspector
( run command below and then visit http://localhost:5173 )
  ❯ mcp dev src/server/example_server.py
Starting MCP inspector...
Proxy server listening on port 3000

🔍 MCP Inspector is up and running at http://localhost:5173 🚀
New SSE connection
Query parameters: {
  transportType: 'stdio',
  command: 'uv',
  args: 'run --with mcp mcp run src/server/example_server.py',
Resources
This project uses:
License
This project is licensed under the MIT License - see the LICENSE file for details.